Learn to Fly a Drone A Pilot's Guide
- Jab Media

- Sep 2, 2025
- 16 min read
Updated: Sep 8, 2025
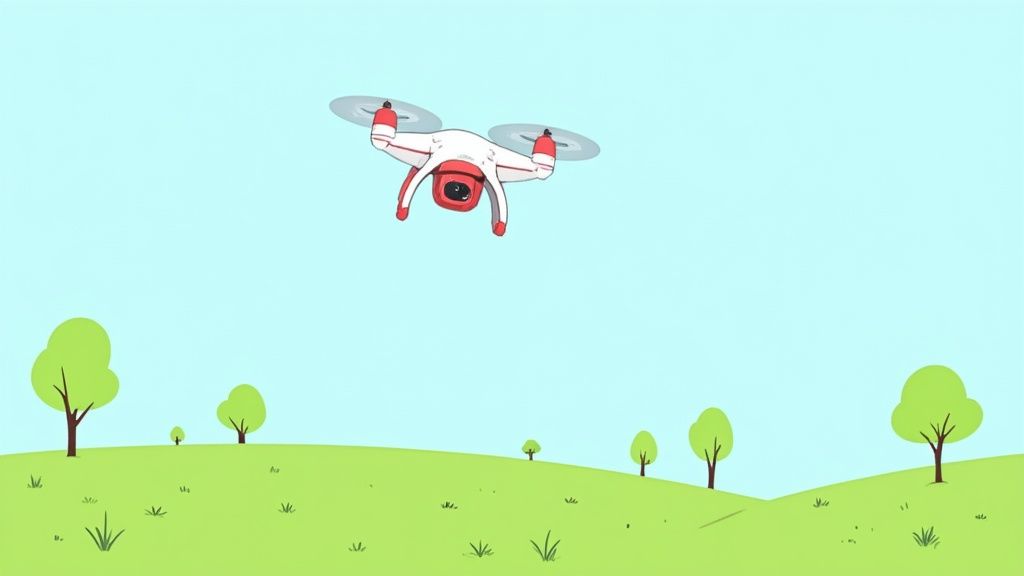
So, you’ve got a drone and you’re ready to take to the skies. It's an exciting feeling. Before you launch, though, there's some groundwork to cover. The key to becoming a great pilot isn’t just about fancy flying—it’s about mastering the pre-flight checks, getting a solid feel for the controls, and practicing the fundamentals in a wide-open space. Nailing these basics is what will give you the confidence to fly safely and confidently on every single flight.
Your Journey to Becoming a Confident Drone Pilot
My goal here is to help you build the muscle memory and practical know-how for safe, controlled, and creative flights. It all starts with the critical prep work every seasoned pilot does before their drone’s props even start spinning. Let's make sure your journey starts on solid ground.
Building Your Foundational Skills
Learning to fly a drone is less about memorizing what the sticks do and more about developing an intuitive feel for the machine in the air. You need to understand not just the what but the why behind every input and maneuver. We're going to focus on building a strong foundation that includes:
Situational Awareness: This is huge. It’s the habit of constantly scanning your surroundings for potential hazards—think trees, power lines, buildings, and especially people.
Regulatory Compliance: You have to know the rules of the sky. This means understanding altitude limits, no-fly zones, and other local regulations to make sure you're always flying legally and responsibly.
Control Finesse: The mark of a good pilot is smooth, deliberate movements. We’ll work on getting you away from jerky, reactive stick inputs and toward controlled, intentional flight.
Think of it like learning the rules of the road before getting your driver's license. It’s non-negotiable for keeping yourself, others, and your drone safe.
A great pilot understands that a successful flight is 90% preparation and 10% execution. The most important decisions are made before the drone even leaves the ground.
From Hobby to Profession
As you get more comfortable and skilled, you might start seeing opportunities to turn this passion into a side hustle or even a full-blown career. The demand for talented drone pilots is exploding in fields like real estate photography, agricultural surveying, and commercial filmmaking.
If you’re thinking about going pro, you’ll need to understand the business side of things. This means managing clients, projects, and contracts. Having a solid creator contract kit can be a lifesaver for handling agreements professionally. This guide will give you the essential piloting skills that a successful commercial career is built on.
Performing Your Pre-Flight Safety Checks
A successful flight begins long before your drone even leaves the ground. I’ve seen it time and time again—what happens in the five minutes before takeoff is just as critical as the flight itself. This pre-flight routine isn't just about checking off boxes on a list. It’s a professional habit that builds your confidence, protects your gear, and most importantly, ensures the safety of everyone around you.
Skipping this crucial phase is one of the biggest mistakes new pilots make. It’s the thin line between a controlled, predictable flight and a disaster waiting to happen. Let’s walk through the absolute non-negotiables that need to become second nature for you.
The Physical Drone Inspection
Before you even think about powering anything on, give your drone a good, thorough physical once-over. Think of yourself as a pilot inspecting an airplane before a flight—the same level of diligence applies here, just on a much smaller scale. You're hunting for anything that seems loose, out of place, or damaged from your last flight or even just from bouncing around in its case.
Your inspection should zero in on these key areas:
Propellers: Look for any nicks, chips, or warping. A tiny imperfection can throw off the balance and create serious instability in the air. Give them a gentle wiggle to make sure they're fastened securely to the motors.
Frame and Arms: Scan for stress fractures or cracks, paying close attention to the motor mounts and landing gear. A compromised frame is a recipe for a mid-flight failure.
Gimbal and Camera: Make sure the gimbal moves freely and the camera lens is clean. And please, remember to take the gimbal cover off! It's a classic rookie mistake that can easily burn out the gimbal motors.
Battery: Double-check that the battery is fully charged and, crucially, that it's clicked securely into place. A loose battery can pop out during a sharp maneuver, leading to a total power loss and a very fast, very expensive trip back to earth.
This entire process takes less than 60 seconds, but it can save you from a costly and dangerous accident.
Analyzing Your Flight Environment
Once your drone has a clean bill of health, it's time to scout your surroundings. Where you fly is just as important as how you fly. The goal here is to spot potential risks on the ground before they become emergencies in the air.
First, check the weather. Wind is your biggest enemy, especially with smaller consumer drones. I always use an app like UAV Forecast, which gives you detailed, real-time wind speed data at different altitudes. As a general rule, flying in winds gusting above 15-20 mph is a no-go for beginners.
Next, do a full 360-degree scan of your flight area. Identify every potential obstacle: trees, power lines, buildings, even light poles. Mentally map out your flight path to keep a safe buffer from everything. Make sure your takeoff and landing zone is a flat, stable surface that's clear of debris, people, and pets. A wide-open field is the perfect classroom.
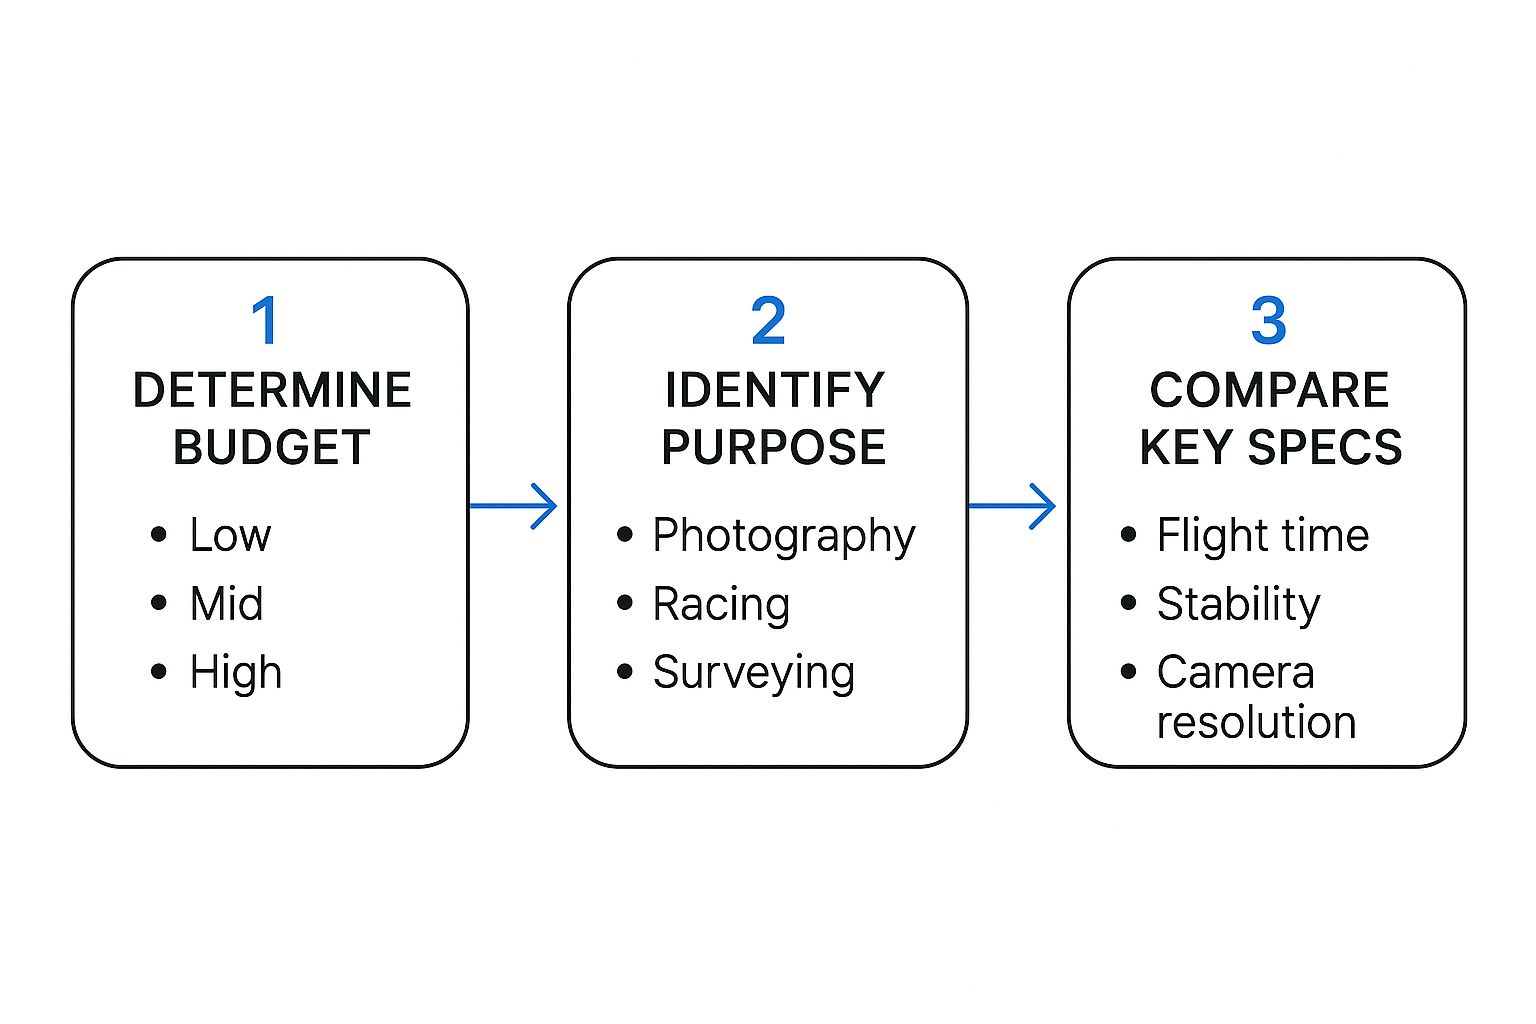
Thinking through a simple flow like this helps you align your gear with your goals, ensuring you’ve got the right tool for the job from the very start.
Calibrating Your Drone Systems
Finally, let's talk about the drone’s brain. Your drone relies on its compass and an Inertial Measurement Unit (IMU) to know which way it’s facing and how it’s moving. Nearby metal objects or magnetic interference can easily throw these sensors off, causing scary behavior like drifting or the dreaded "toilet bowl effect" where the drone flies in widening circles.
Before your first flight in any new location, you absolutely must perform a compass calibration. The flight app will walk you through it—it usually involves just rotating the drone horizontally and then vertically. It’s a simple step that is critical for a stable, predictable flight.
The IMU might need calibration less often, but if you notice your drone isn't hovering steadily, it’s a great troubleshooting step to take.
For new pilots, creating a consistent pre-flight routine is the most important skill to develop. To help you build that habit, here's a quick summary of the essentials.
Essential Drone Pre-Flight Checklist
This table breaks down the critical checks you should perform before every single flight. Make it a non-negotiable part of your workflow to guarantee safety and get the best performance from your drone.
Check Category | Key Actions |
|---|---|
Physical Inspection | Inspect propellers for damage, check the frame for cracks, ensure the gimbal moves freely, and confirm the battery is securely latched. |
Environment Scan | Check weather (especially wind speed), identify all potential obstacles (trees, power lines), and select a clear, flat takeoff/landing zone. |
System Calibration | Perform a compass calibration at every new location and an IMU calibration if the drone shows signs of instability. |
Controller & App | Confirm controller has sufficient battery, check that the flight app is updated, and review flight settings (e.g., Return-to-Home altitude). |
By making these checks an unbreakable routine, you’re not just being safe—you’re setting yourself up for success on every single flight. For an even more detailed breakdown, you can dive into our complete preflight checklist for drones, which is packed with more pro tips.
Mastering Your Drone's Basic Flight Controls
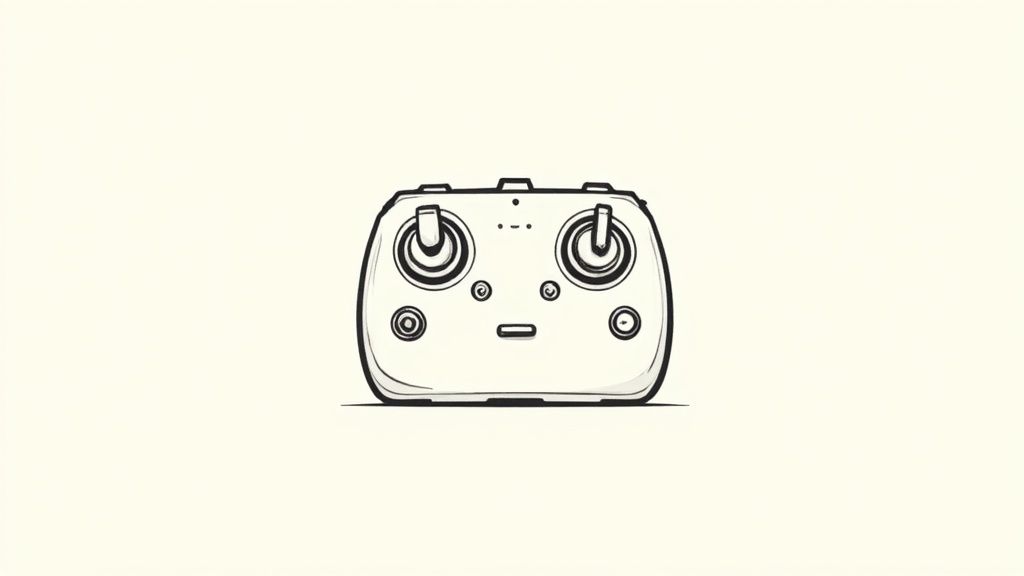
Alright, you've done the pre-flight checks, and now it's time for the fun part—getting your drone airborne. This is where the real learning begins and muscle memory starts to form. That controller might look a bit intimidating with all its sticks and buttons, but trust me, it’s far more intuitive than you think.
Your drone moves based on four fundamental inputs, and they’re all tied to the two main joysticks. Nailing these core controls is the absolute key to flying with confidence. Forget memorizing dry definitions; we're going to build a genuine feel for how your thumbs translate into movement up in the sky.
Demystifying the Four Core Controls
Every drone, whether it's a tiny toy or a high-end camera rig, flies using the same four principles. Let's break down exactly what each stick does. We'll assume you're on a standard "Mode 2" controller, which is what nearly everyone uses.
The left stick is all about your altitude and rotation:
Throttle: This is your up-and-down. Push the stick forward, and the drone climbs. Pull it back, and it descends. Simple as that. Think of it as a gas pedal, but for going vertical.
Yaw: This controls the drone's rotation. Pushing the left stick left or right makes the drone spin in place, almost like you're turning your head to look around. This is how you'll change the direction the camera is facing.
The right stick handles your directional movement:
Pitch: This is your forward and backward travel. Nudge the right stick forward, and the drone tilts and moves ahead. Pull it back, and it flies in reverse.
Roll: This is your side-to-side slide, often called strafing. Pushing the right stick left or right banks the drone, letting it move sideways without changing which way it's pointing.
Pro Tip: The real secret to smooth flying is making tiny, gentle adjustments with your thumbs. The most common beginner mistake is jamming the sticks around, which just leads to jerky, out-of-control flight. Be gentle.
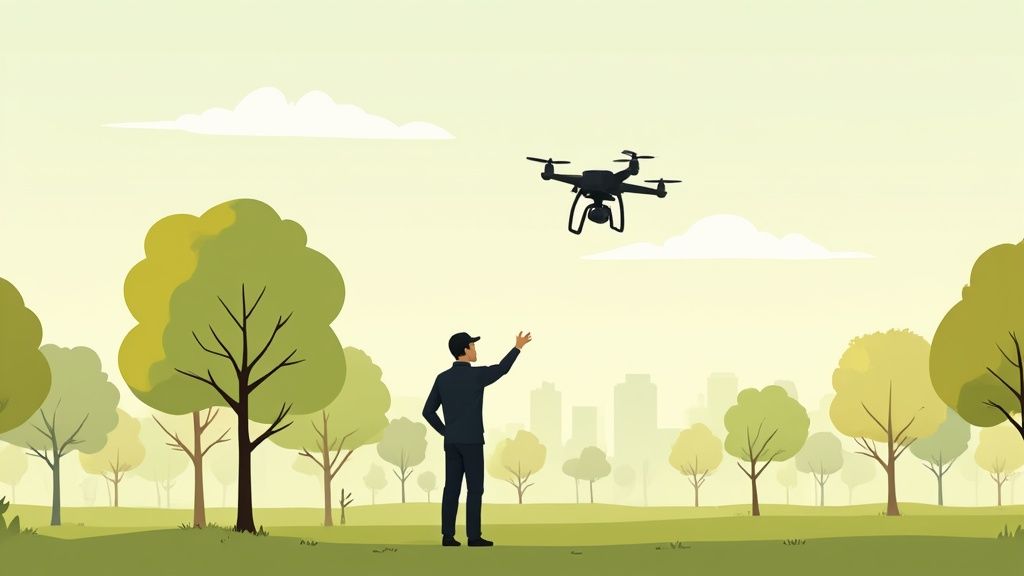
Your First Liftoff, Hover, and Landing
Now, let's put this into practice. Head out to a wide-open area—a big field with no trees, people, or power lines is perfect. For your first flight, the goal isn't to go exploring. It's simply to master taking off, holding a steady hover, and landing safely.
Arm the Motors: First, you'll need to "arm" the drone, which just means getting the propellers ready. This is usually done with a quick stick command, like pulling both sticks down and toward the center. The props will start spinning slowly.
Gentle Liftoff: Now, slowly and smoothly push the throttle (left stick) forward until the drone lifts off the ground. Don't punch it! Just aim to get about 5-10 feet in the air.
Find Your Hover: Once it's up, your job is to keep it in one spot. This is harder than it sounds. You’ll be making constant, tiny adjustments with both sticks to fight any wind or drift. This is honestly the most important skill to master.
Controlled Landing: When you're ready, just gently pull back on the throttle. The drone will start to descend. Keep it slow and steady until it touches down, then pull the throttle all the way back to shut the motors down.
Practice that simple sequence—liftoff, hover for 30 seconds, land—again and again. It’s going to feel wobbly at first, but every single repetition is building that crucial muscle memory. If you want a little more guidance, check out our post on easy flight tips for beginners.
Understanding Headless Mode
A lot of beginner drones come with a feature called Headless Mode. When it's on, the drone's direction is locked relative to you, not the front of the drone itself. So, pushing the right stick forward always makes it fly away from you, no matter which way the camera is pointing.
So, should you use it?
For your first few flights? Maybe. It can help you get a basic feel for the sticks without the added stress of worrying about orientation.
The problem? It quickly becomes a crutch. Relying on Headless Mode stops you from learning how to fly properly, which is essential for safety and any kind of advanced flying later on.
My advice? Use it for a flight or two if you're really struggling, but turn it off as soon as you can. The faster you learn to fly based on the drone's actual orientation, the better and more confident pilot you'll become.
Building Piloting Skills with Practice Drills
Okay, so you’ve got hovering down and you can land without a heart attack. That’s a huge first step. Seriously. But now it’s time to move past just floating in one spot and start building the real skills that separate a nervous novice from a confident pilot. This is where the magic happens—where you stop thinking about flying and start feeling it, turning conscious effort into pure muscle memory.
These drills are designed to build your skills piece by piece. They’ll feel awkward at first, maybe even frustrating, but stick with them. Repetition is your best friend here. Before you know it, your control will become smoother and more instinctive. This is the foundation you absolutely need before trying to nail those buttery-smooth cinematic shots or navigate a tricky environment.
The Foundational Box Pattern
Every single new pilot should start with the box pattern. It might sound basic, but this simple exercise is wildly effective. Why? Because it forces you to use all four of your primary controls—throttle, yaw, pitch, and roll—in a very deliberate, coordinated way. This isn't about speed; it's all about precision.
To get started, fly your drone forward about 20-30 feet in a straight line, then stop and hold a stable hover. Now, using only the yaw control (your left stick), turn the drone a clean 90 degrees to the right. Once you're facing the new direction, fly forward another 20-30 feet using pitch (your right stick). Just repeat this process two more times, and you'll complete the square, ending up right where you started.
The real challenge here is keeping your altitude perfectly consistent through the whole pattern. It’s incredibly common to accidentally bump the throttle up or down while you're focused on turning. Make a conscious effort to keep that altitude locked in. This drill is secretly training your thumbs to work independently while still being perfectly in sync.
Mastering Smooth Circles
Once you're flying straight lines and crisp turns without breaking a sweat, it's time to tackle smooth, arcing movements. Flying a perfect circle is much harder than it looks. It requires you to constantly and gently blend two different inputs at the same time: yaw and roll (or pitch, if you're flying a circle facing forwards or backward).
Picture a big circle on the ground with you standing in the middle. The goal is to fly your drone around the edge of that circle, keeping the camera pointed at you the entire time. To pull this off, you'll need to gently push the right stick (roll) to the side while simultaneously applying a little yaw with the left stick in the opposite direction. It's a delicate dance between the two sticks.
This coordinated input is the secret sauce behind those epic, cinematic drone shots. Mastering that gentle blend of roll and yaw is what allows pro pilots to perform those sweeping orbits you see in movies. Start slow. Focus on making your circle as round as you possibly can.
Don't get discouraged if your first attempts look more like lopsided ovals. This drill is specifically designed to build the fine motor skills needed for making subtle, simultaneous adjustments—a core skill you absolutely have to develop.
The Challenging Figure-Eight
If you really want to test yourself, the figure-eight is the ultimate drill for basic piloting skills. It takes everything you've learned so far—straight lines, turns, and circles—and wraps them into one continuous, fluid maneuver. This exercise is fantastic because it forces you to transition smoothly from a left turn into a right turn without stopping, building a much deeper level of control.
Start by flying a large circle in one direction. As you come back around to your starting point, instead of stopping, just flow right into a circle in the opposite direction. You're basically tracing a number "8" in the air.
This one demands constant focus and predictive control. You have to be thinking a step ahead, anticipating that transition from a left-hand turn to a right-hand one. It will shine a spotlight on any weaknesses in your control and force you to get better.
Tips for Success with Practice Drills
Find a Huge, Open Space: Give yourself way more room than you think you need. A big, empty park or an athletic field is perfect.
Fly Low and Slow: When you’re starting any new drill, keep the drone low (around 10-15 feet) and fly at a walking pace. Speed comes later, naturally, with confidence.
Keep Orientation in Mind: Always, always know which way the front of your drone is pointing. Losing track of your orientation is the fastest way to lose control. If you get confused, just stop. Hover. And get your bearings.
These exercises might feel repetitive, but trust me, they are the quickest path to building the instinctual control you need for more advanced flying. Each perfect circle or clean figure-eight is another layer of skill getting burned into your muscle memory, making you a safer, more capable pilot. This is how you truly learn to fly a drone, not just operate one.
Navigating Drone Laws and Airspace Rules
Becoming a skilled pilot is only half the battle. The other half—and frankly, the more critical part—is becoming a responsible one. Getting a handle on the rules of the sky isn't about memorizing dense legal textbooks; it's about practical safety and respect for the airspace you're sharing with others.
This knowledge protects you, the public, and your drone from easily avoidable accidents and legal headaches. Getting this right from day one builds the kind of good habits that will serve you well for your entire flying career.
Recreational vs. Commercial Flying
First things first, you need to know why you're flying. Is it just for fun, or is there a business angle involved? The Federal Aviation Administration (FAA) has completely different sets of rules for each.
Recreational Flying: This is all about flying for personal enjoyment. If you're snapping photos for your own Instagram or just love the thrill of flying, you're in this camp. The rules here are generally a bit more straightforward.
Commercial Flying (Part 107): If your flight is tied to a business in any way, you're a commercial pilot. That includes shooting photos for a real estate listing, surveying a construction site, or creating video content for a client. This path requires you to earn a Part 107 Remote Pilot Certificate from the FAA.
Figuring out which category you fall into is the first step toward flying legally. For a much deeper dive into these regulations, our guide to mastering drone laws offers an essential compliance overview.
The Unbreakable Rules of the Sky
No matter your reason for flying, some rules are universal and absolutely non-negotiable. Think of these as the fundamental laws of drone physics and etiquette that every single pilot has to live by.
You must always fly below 400 feet Above Ground Level (AGL). This simple rule has a massive impact on safety, keeping you well clear of most manned aircraft.
You also have to keep your drone within your Visual Line of Sight (VLOS) at all times. This means you, or a spotter standing right next to you, has to be able to see the aircraft with your own eyes—no binoculars, no relying solely on the video feed. If you can't see it, you can't control it.
Never underestimate the importance of VLOS. It is your primary tool for situational awareness and collision avoidance. Losing sight of your drone is the first step in a chain of events that can lead to an accident.
Checking Your Airspace Before You Fly
You can't just launch your drone anywhere you please. The sky above us is an invisible, complex network of restricted areas and designated flight zones. Flying in the wrong spot can have serious consequences.
Luckily, technology makes this part easy. The FAA’s official app, B4UFLY, is a non-negotiable tool for every pilot. Before you even leave the house, pop open the app and check the airspace at your planned location. It gives you a simple, color-coded map showing exactly where it's safe to fly and where restrictions are in place.
Be especially mindful of these common no-fly zones:
Airports: You need to stay at least five miles away from most airports unless you have specific authorization to be there.
National Parks: Drones are banned in all U.S. National Parks. This is to protect wildlife and preserve the natural experience for everyone else.
Stadiums and Sporting Events: The FAA often issues Temporary Flight Restrictions (TFRs) over stadiums during major events.
Finally, remember that any drone weighing over 0.55 pounds (250 grams) must be registered with the FAA. It's a quick online process that gives you a registration number you have to display on the outside of your drone. Being a safe, informed, and compliant pilot is the true mark of a pro.
Frequently Asked Questions About Flying Drones
Even after you've done all your homework, you're bound to have some questions pop up as you get more stick time. Getting good, honest answers is what turns a nervous new pilot into a confident one. Let's dig into some of the most common questions I hear from people just starting out.
How Long Does It Take To Learn?
There's no magic number here, but I find most folks can get the hang of basic takeoffs, hovering, and landing within their first 1-2 hours of practice. Feeling truly comfortable and flying smoothly in different situations? That usually takes around 10-15 hours of real flight time.
The real secret is consistency. You'll build skills way faster with a 30-minute practice session a few times a week than you will with one marathon session every month. It's all about building that muscle memory.
What Is the Hardest Part of Flying a Drone?
For nearly every beginner, the biggest mental hurdle is maintaining orientation. It’s the simple, yet surprisingly tricky, act of knowing which way the front of your drone is pointing, especially once it’s a small speck in the distance or flying back toward you. When it's nose-in (facing you), all your controls are reversed. Pushing the stick left sends the drone to your right.
This is exactly why I stress practicing drills like box patterns and figure-eights. They’re not just for show; these exercises force your brain to constantly track the drone's orientation until it becomes second nature.
Another tough skill to master is developing a light touch. It’s so easy to over-correct when you're new, which leads to jerky, uncontrolled movements. Smooth, cinematic flight comes from making tiny, almost invisible adjustments to the sticks.
Can I Fly My Drone in the Rain?
This is one of those questions where the answer is a hard and fast no. The vast majority of consumer drones are not waterproof. They aren't even water-resistant. Flying in the rain is a surefire way to cause short circuits, kill your motors, and do permanent damage to the sensitive electronics packed inside.
Even what seems like a light drizzle or heavy fog can be enough to fry your drone's brain. The moment you feel a drop, your only job is to land immediately and get your gear covered. For a deeper dive into this and other crucial safety practices, check out these drone safety tips to avoid accidents and hazards.
What Happens if My Drone Loses Connection?
Losing the signal is a legitimate fear, but modern drones come with an incredibly reliable failsafe: Return to Home (RTH). Before you even think about your first flight, you need to go into your flight app and set a safe RTH altitude—I usually recommend about 150 feet as a starting point.
If your controller ever loses its connection to the drone, the RTH function will kick in automatically. The drone will climb to that height you set, fly itself back to its original takeoff spot via GPS, and then land all on its own. Just make absolutely sure your takeoff location is wide open and clear of things like tree branches or power lines.
At JAB Drone, our goal is simple: to help you become a safe, skilled, and confident pilot. From beginner guides to in-depth reviews, we’ve got the insights you need to get ahead of the curve. Explore all our resources and join the community over at https://www.jabdrone.com.
Comments